Well the title already needs some explanation. This series of articles should explain how to turn your old computer, old laptop, cheap refurbished barbone or any other machine with x86 architecture into any server of your choosing and make it also versatile to switch purpose while running.
As Windows 10 comes to an end soon and not all machines support Windows 11 although they can be still neat power houses there will be most likely some abandoned machines at your place or in your vicinity which you can easily adopt for your project.
Following purposes come to mind:
- Webserver including PHP and MySQL Database
- NAS (Fileserver) running for your LAN only or as your personal cloud on premises
- VPN Solution (accessing your smart home while travelling and ensuring safer connection on open/untrusted wifi)
- Host for Docker containers and virtual machines
- Blocking advertising on websites, blocking malware and phishing sites using free to use blocklists
- Game server – hosting your own dedicated server ensures you have the full access for mods and configuration and no more limit on connections/slots
- Central control server for anything that comes to mind:
Domain Server – ensuring you have one user accounts centrally managed which can be used for all your devices
Print Server – connect your printers and/or scanners and ensure new devices just can access it easily at the same time and don’t need to install specific software of the products - Surveillance Platform – Connect all Wifi/LAN or direct USB cameras to one system so you can monitor all of them on a neat web interface via your browser from anywhere
- Mailsystem merging all your email addresses and accounts into one mailbox, you can then connect to and access via web or app
- Tor Server controlling/accessing your server from everywhere without the need to set up DDNS, port forwarding and NAT rules
There can be endless more – please comment if you have other ideas and need help with it. It is also obvious that hardware requirements vary by the purpose. If you want to run a file server, you should provide loads of space, if it will be a game server the importance will be CPU model, amount of cores and the amount of memory. For adblocker, vpn and also website hosting the requirement is usually at a minimum and works on any machine, but two LAN adapters may come in handy.
Installation
– Debian 12.8.0 (Bookworm) released November 11th, 2024
I assume you have a computer with following specs minimum:
Intel or AMD CPU 64bit dual core not older than 2004, RAM 2GB minimum, HDD/SSD 20GB, some network device accepting RJ45 cable connector. Most likely your machine is not 20 years old, but who knows… anything better than this helps to handle more stuff in the end.
Your machine needs to be able to boot from USB or CD-ROM. All remaining/previous data of your drives will be deleted and cannot be recovered. In case it does not boot from your installation media you may need to switch boot orders in your BIOS. To enter the BIOS before the operating system starts, you need to press a specific key depending on the model. It will be most likely DEL, F1, F2, F8, F10, F12, ESC or RETURN. Some systems show you the key while booting up, some just show a picture of the manufacturer. Some Laptops have a specific key just for this or you need a combination of Fn and a number or F-key. Surface laptops and other tablets require often to press power button while one of the volume buttons is hold down. It should be possible to ask your favourite search engine if you know the model number of your machine in case nothing works.
Creating boot device:
USB: use win32 disk imager and select the iso and the drive letter of your USB thumb drive,
CD-ROM: use cdburnerxp and select the iso to create a new copy on CD
Booting up:
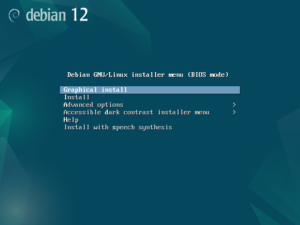
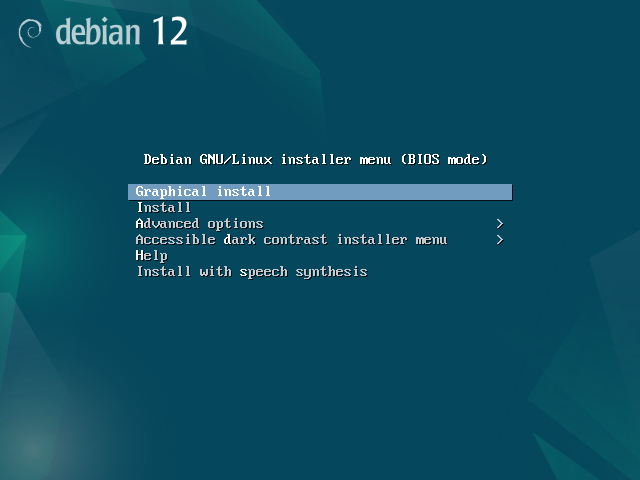
There is no difference in “Graphical install” or “Text install”.
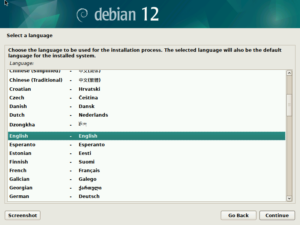
English is usually the best choice, as you may come across to translations into words which you are rather not familiar with in the context used. Example for German: Since Windows 3 or OS/2 the Desktop has always been Desktop, even in German. The direct translation would be something like Schreibtischoberfläche. Debian in German calls it Schreibtisch. So in order to avoid weird surprises, just do it in English.
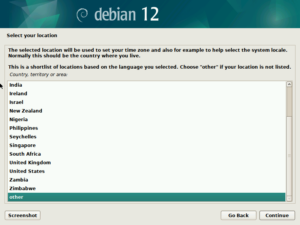
Select your country. Since we selected English earlier, suggestion is limited here, so select other.
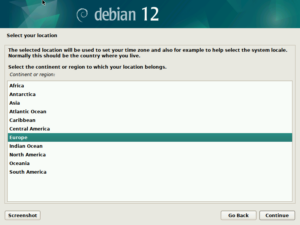
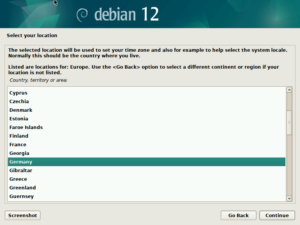
Select your continent and country.
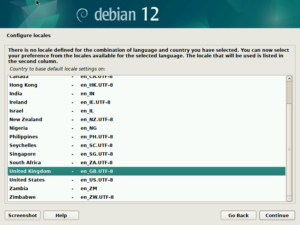
Since the combination of language and country may not be matching you need to select a system locale. That will effect how dates are displayed and how numbers and decimals are shown. If you write 1.234,56 or prefer 1,234.56 and also wish to have your date DD.MM.YYYY instead of MM/DD/YYYY this is where to make your choice.
Although I selected German earlier and I still prefer Numbers with . as decimal and not , but am also not a fan of the MM/DD/YYYY US-style of the date displayed, I usually select UK. That way the date is shown DD/MM/YYYY, so the order is as I am used to, while numbers are displayed like 1,234.56 everywhere.
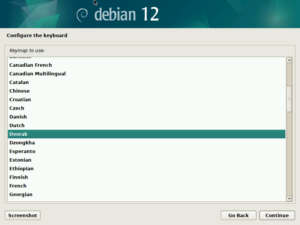
Now it is time to select your keyboard layout.

Name your system. It should be not too long and make sure you do not have a machine with the same name in your network.
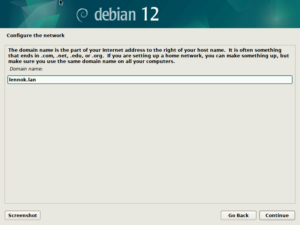
Usually you put in your local network name. “mynetwork.local” should not be used if you have any Apple devices, rather use “mynetwork.lan” instead. And don’t worry you can change anything at a later stage.
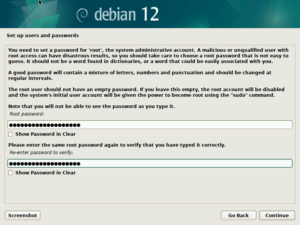
It is time to set your root password. This is the admin account having all rights to install and modify software, chose something strong, but you also should be able to remember and be able to type it. See also xkcd.
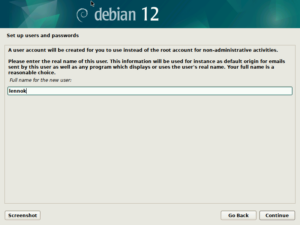
Enter the full name of yourself or just use your login name. This will be your first user account on the machine to login with.
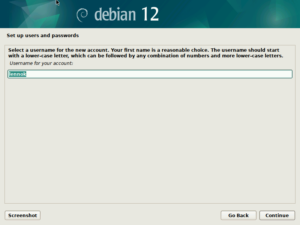
This is your login name. Linux user names are case sensitive, Windows user names are not.

Your user needs an additional password. Please do not use the same. There are no rules yet, in case you change it later usual password rules apply.

Since this should be a quite simple installation, intention is to use most simple settings here. If you intend to expand your file system with more HDD/SSD at a later stage “LVM” would be a better choice, but dedicating one or several new (larger) drive(s) for data only would still work with the simple selection here. So we use the “entire disk”.
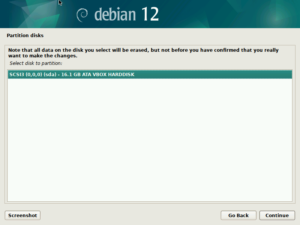
This should list all your connected hard drives. Select the drive on which you wish to install the system.
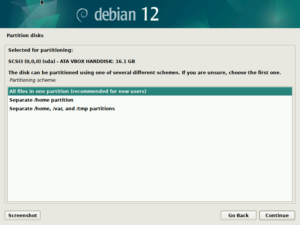
All purpose in our case means we just install and store everything on one partition for now.
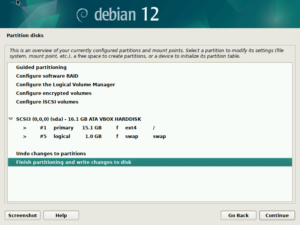
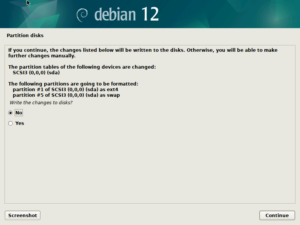
A summary of what we selected earlier, after that screen all data on the destination drive will be lost. Remember the device designation. It says “(sda)” here, it might be different at your machine. Select “Yes” and “Continue”.
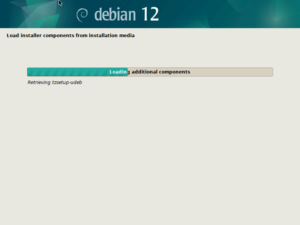
Finally something is happening.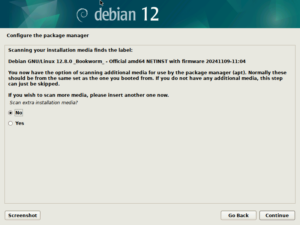
An offline installation would need additional CDs now, but we are getting more packages we need directly from the web. So it is “No” and “Continue”.
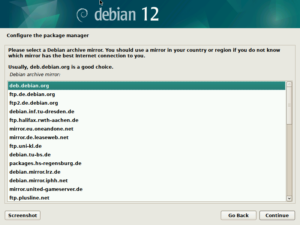
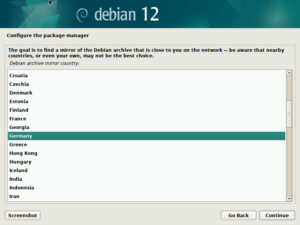
The suggested usually works well, you might want to select some mirror closer to you.
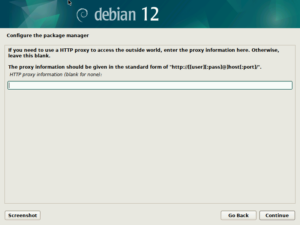
If you are running a forward proxy like ARR, LANCache or Squid you enter the details here, otherwise leave it blank and hit “Continue”.

Clicking on “Continue” is usually the right choice here.
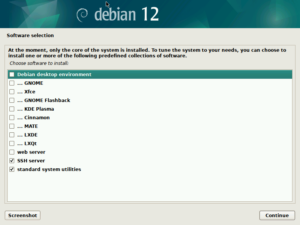
We are setting up a server, so desktop environment is not necessary as the server will be controlled via SSH later and there won’t be monitor and keyboard attached later on in any case. In case you wish to connect via RDP or VNC and have a graphical environment my recommendation would be MATE. It is very simple and has lowest performance impact. However this can still be added at a later stage, so just leave it for now and uncheck all the desktop stuff. Ensure SSH is enabled!
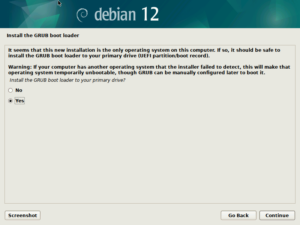
GRUB is the boot loader and needs to be installed on the first partition of your drive which is going to boot. Select “Yes” and “Continue”.
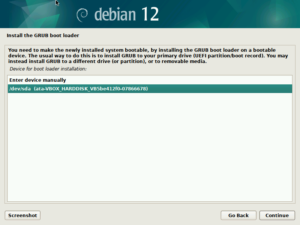
In our example we only had one drive, so this has to be selected. If you have more, select the same drive you installed the system on and did the partitioning earlier. You might remember “(sda)”? Full device designation will be “/dev/sda”. Select the correct device and “Continue”.
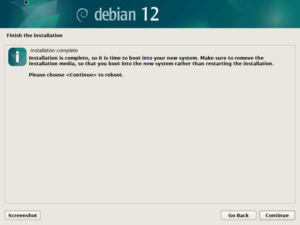
We are done. Remove USB-Drive or CD-ROM and then select “Continue”.

Your server should boot up like this. Login with your user and enter following command
ip a
This will show you the IP address of your machine and you can now easily connect via SSH from your workstation.
